Archer A6 Ver:3.0 (JP) に openwrtをインストール
March 06, 2021
激安ルータにopenwrtをインストールしたい
Archer A6というルーターの挙動がおかしい.
- 無線でプリンターがつながらなくなる
- L2TP/IPSecでVPNできなくなる
等々
したがって我が家では早々にリストラされたこのルーターにopenwrtをいれてあそびたい.
ファームウェアのコンパイル
https://github.com/openwrt/openwrt/pull/3786
現状メインラインにマージされていないPRがあり, そこで実装されていたのでもらってこよう. わたしはこんな感じでビルドした.
git clone https://github.com/vrpatil/openwrt.git -b archera6v3
cd openwrt
./scripts/feeds update -a
./scripts/feeds install -a
make menuconfig
make defconfig
make download
make -j8 V=s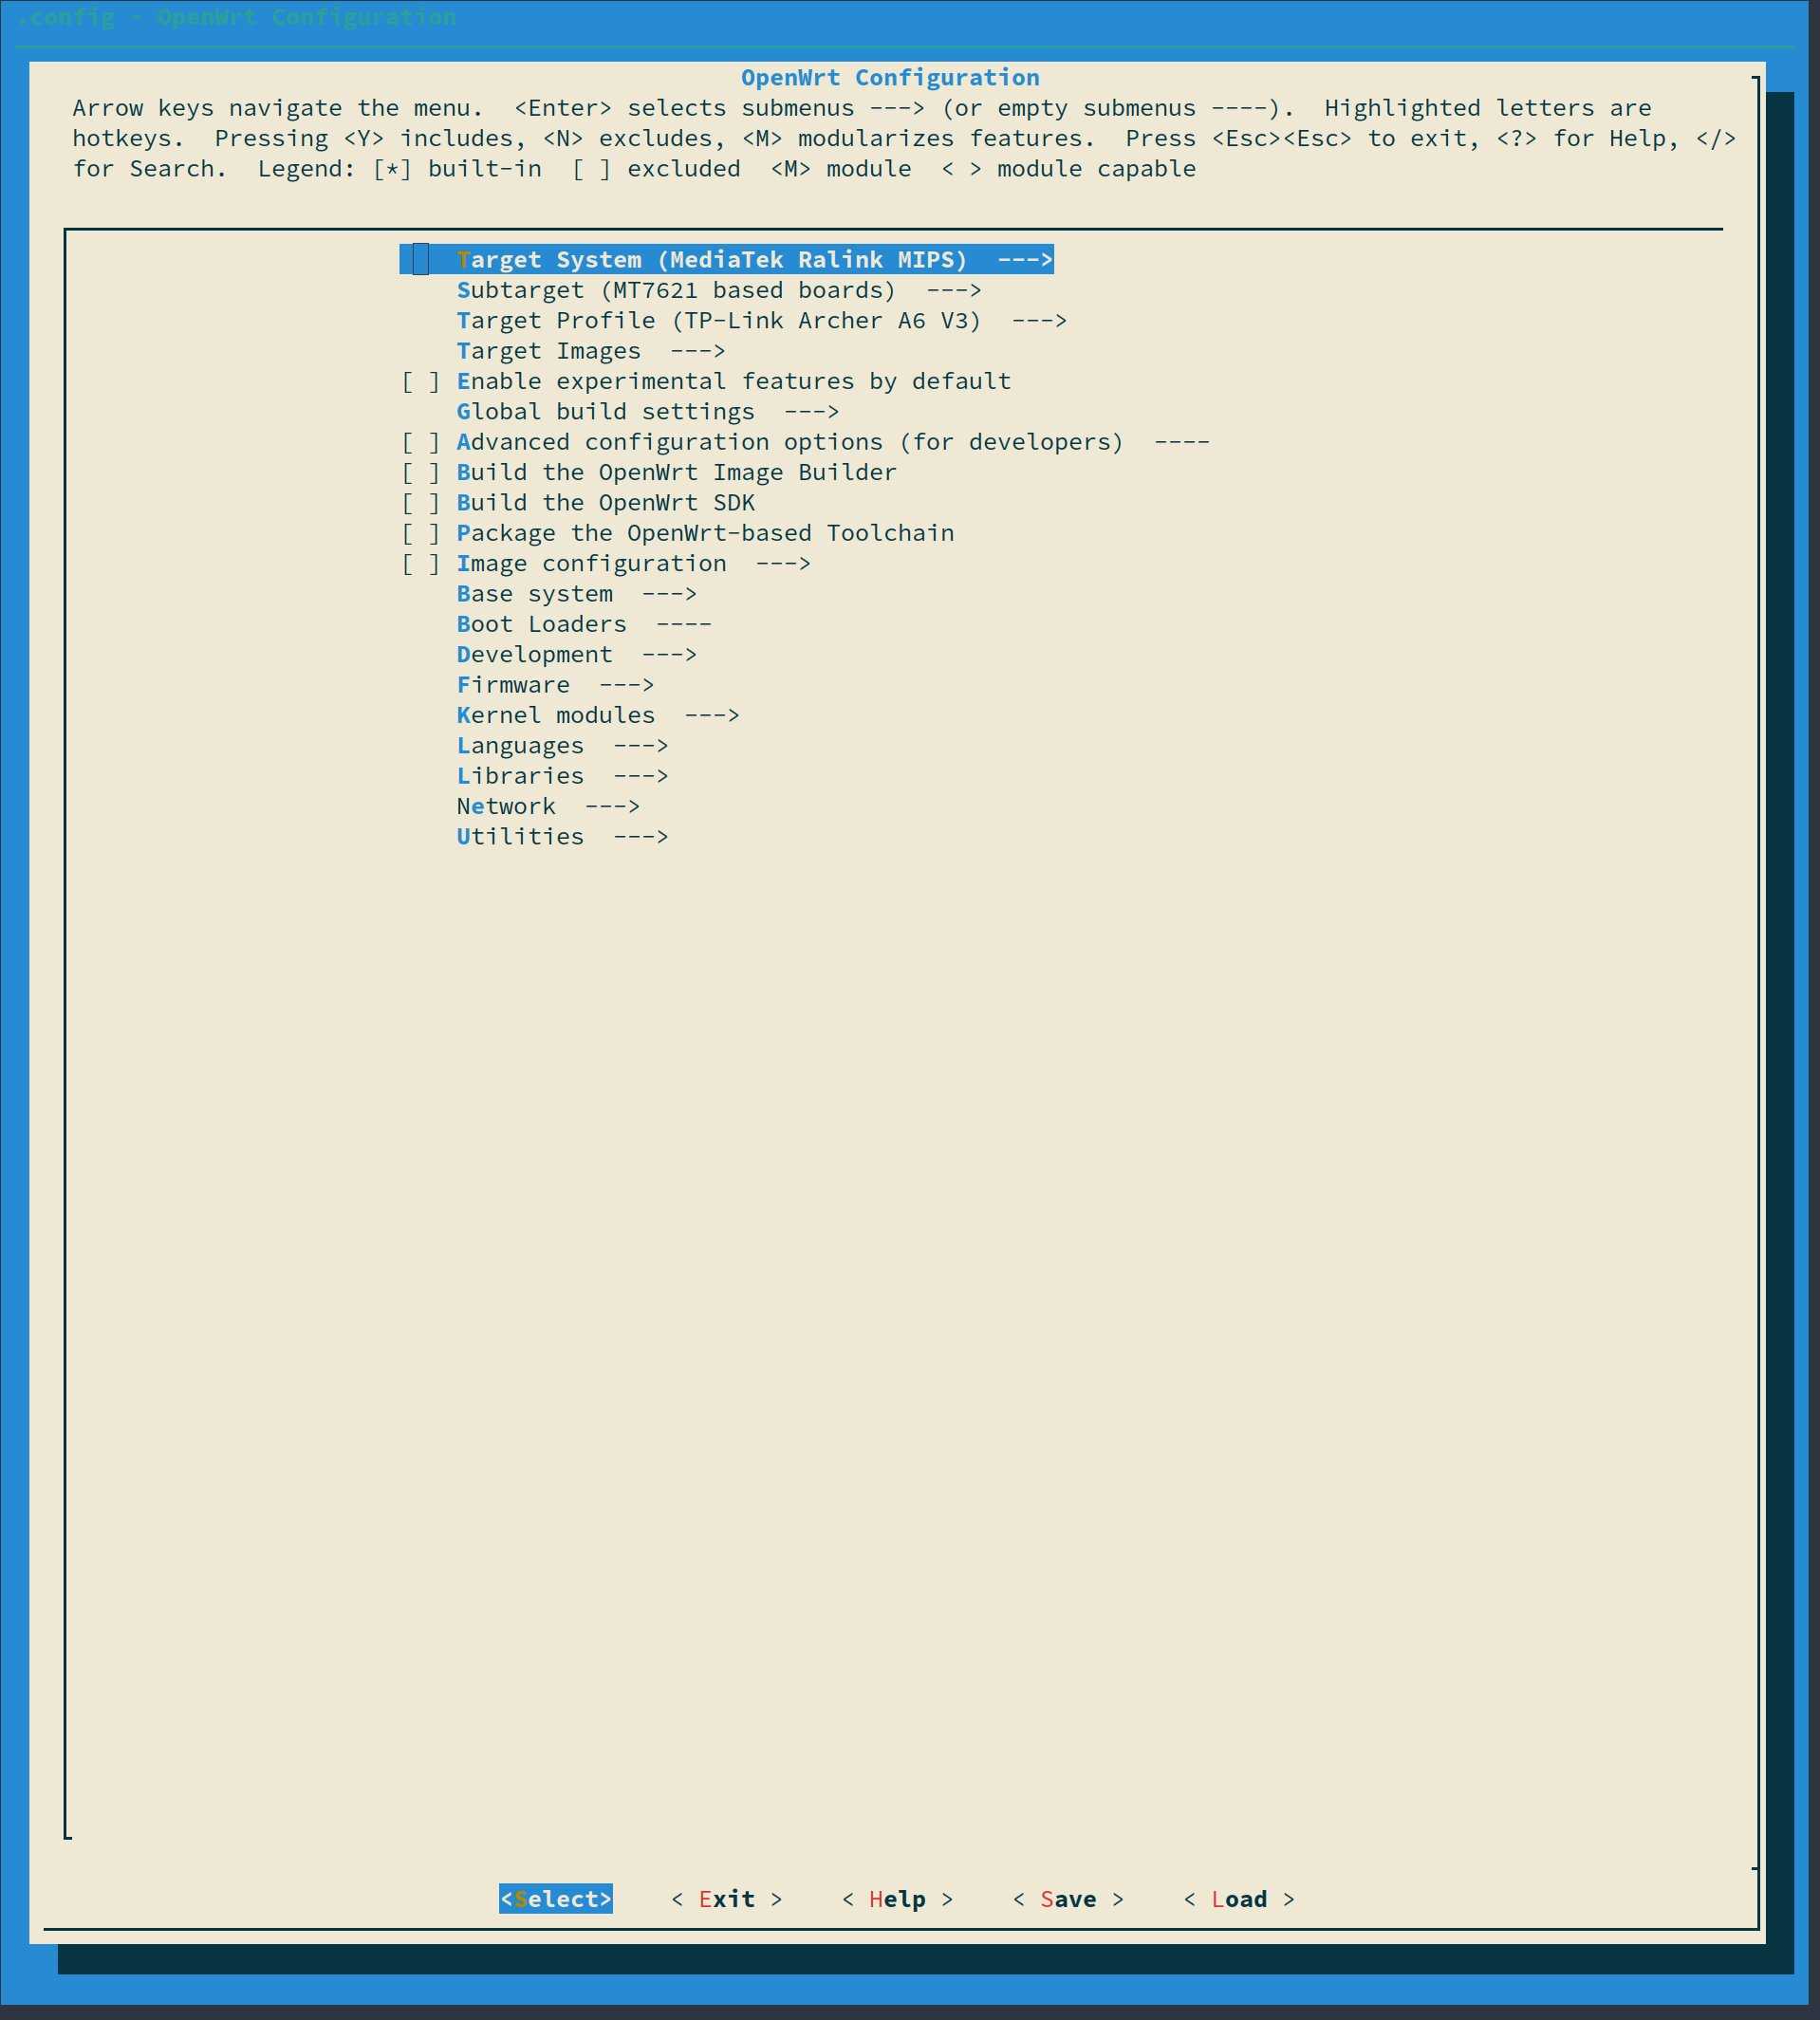
ROM焼き
どこかに以下の3つのファイルができる.
- openwrt-ramips-mt7621-tplink_archer-a6-v3-initramfs-kernel.bin
- openwrt-ramips-mt7621-tplink_archer-a6-v3-squashfs-factory.bin
- openwrt-ramips-mt7621-tplink_archer-a6-v3-squashfs-sysupgrade.bin
find ./ -name openwrt-ramips-mt7621-tplink_archer-a6-v3-squashfs-factory.binとかでさがそう.
- のファイルは私の場合使えなかった.
1. ガワを分解する
2. シリアル通信線(RS-232 3.3v)をハンダづけする
ピンアサインはこんな感じ
VCC GND TXD RXD3. ルーターとPCをつなぐ(シリアルとLAN)
4. TFTPサーバーを起動
192.168.0.5にNICを固定しておく. 1. のファイルをtest.binにリネームして公開する.
5. シリアルコンソールを開く
6. ルーターを起動
シリアルコンソールにログがながれるのですかさずキーボードの4を連打
7. openwrtを起動
ubootのなかで
tftpboot
bootm
する
8. scpで 3. のファイルをコピーする
ipアドレスの固定を解除しておく. ルーターのipは192.168.1.1. わたしは/tmpにおいた.
9. sysupgradeする
/sbin/sysupgrade -n /tmp/openwrt-ramips-mt7621-tplink_archer-a6-v3-squashfs-sysupgrade.bin